Getting Started
CLICK BELOW TO WATCH FIRST!

Form2Account: Getting Started Guide
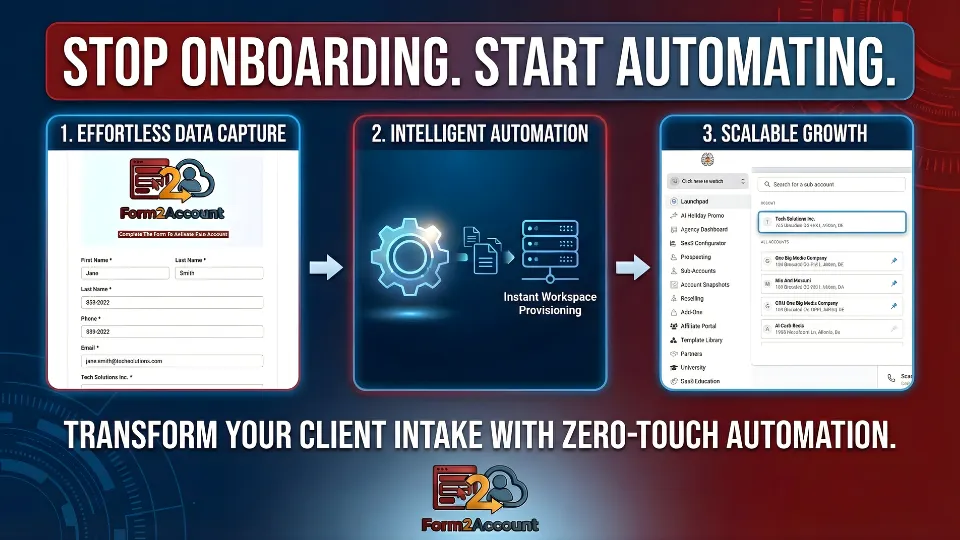
Form2Account is a powerful automation tool designed to fully streamline the client onboarding process. It transforms a standard form submission into a completely functional, ready-to-use workspace, eliminating manual setup and provisioning tasks. This comprehensive guide provides agency administrators and IT implementers with everything needed to successfully deploy, configure, and activate the system.

Critical Pre-Requisite: Configuring Company Security Settings
Before beginning the installation, it is strategically vital to configure your agency's company-wide security settings. This proactive step is essential to ensure that newly created sub-account administrators are granted the correct permissions from the moment of their creation. Properly addressing this setting upfront will prevent future access issues, reduce administrative overhead, and minimize support requests.
Warning: Default Permission Restriction
If the Enhanced Account Security setting is left enabled in your Company Settings, new administrators created by Form2Account will not have access to User Management by default.
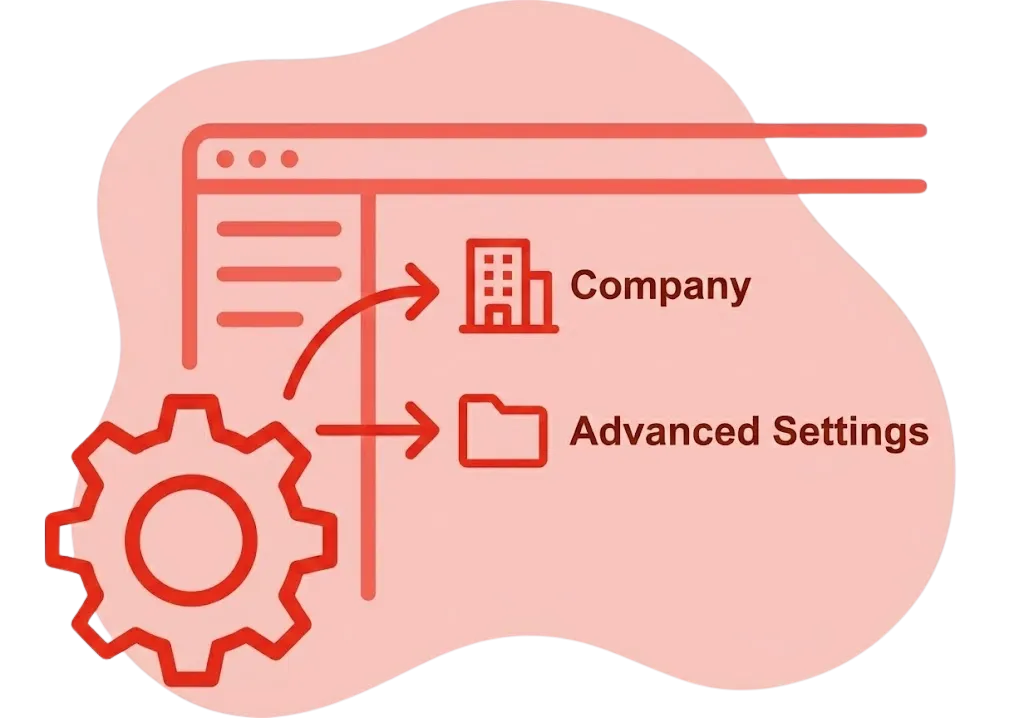
01: Navigate to Settings
Click the cog icon in the bottom-left sidebar, then select Company, and finally click on the Advanced Settings tab.
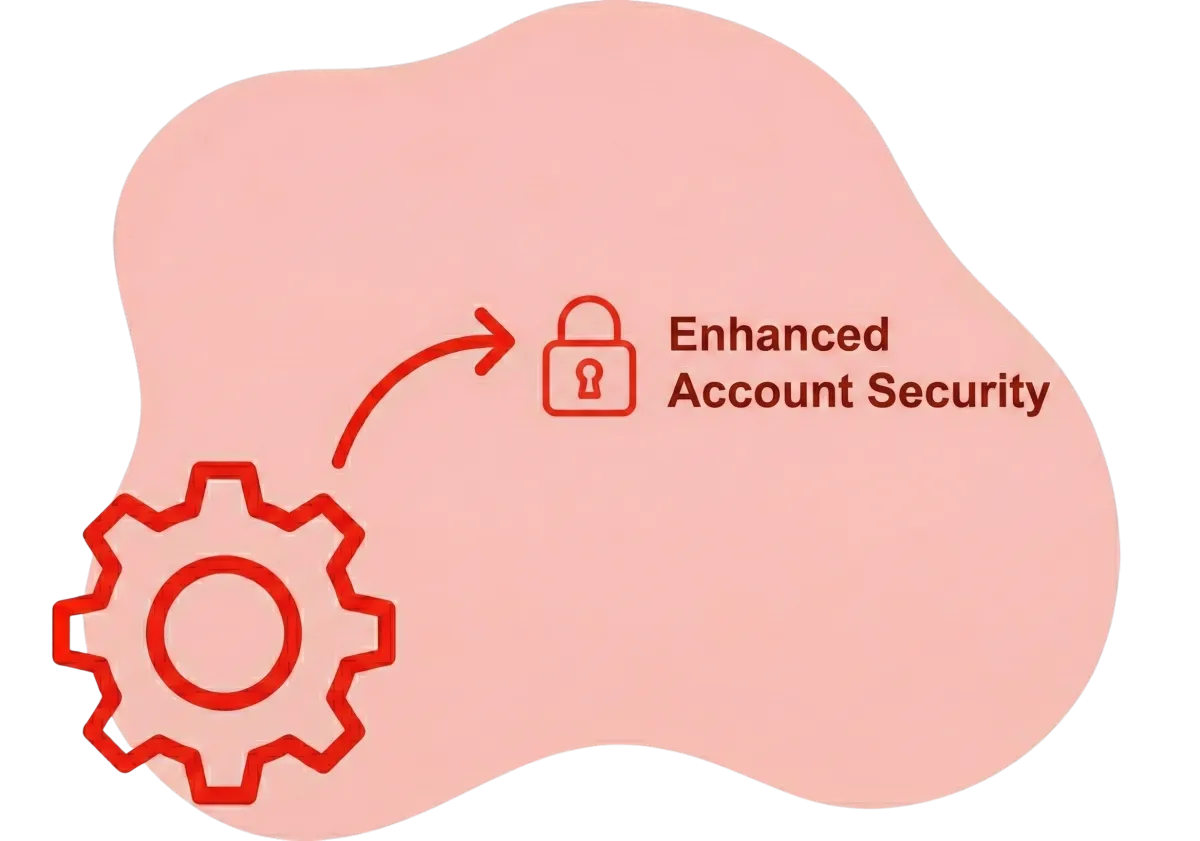
02: Locate Security Option
Find the Enhanced Account Security option in the settings panel.
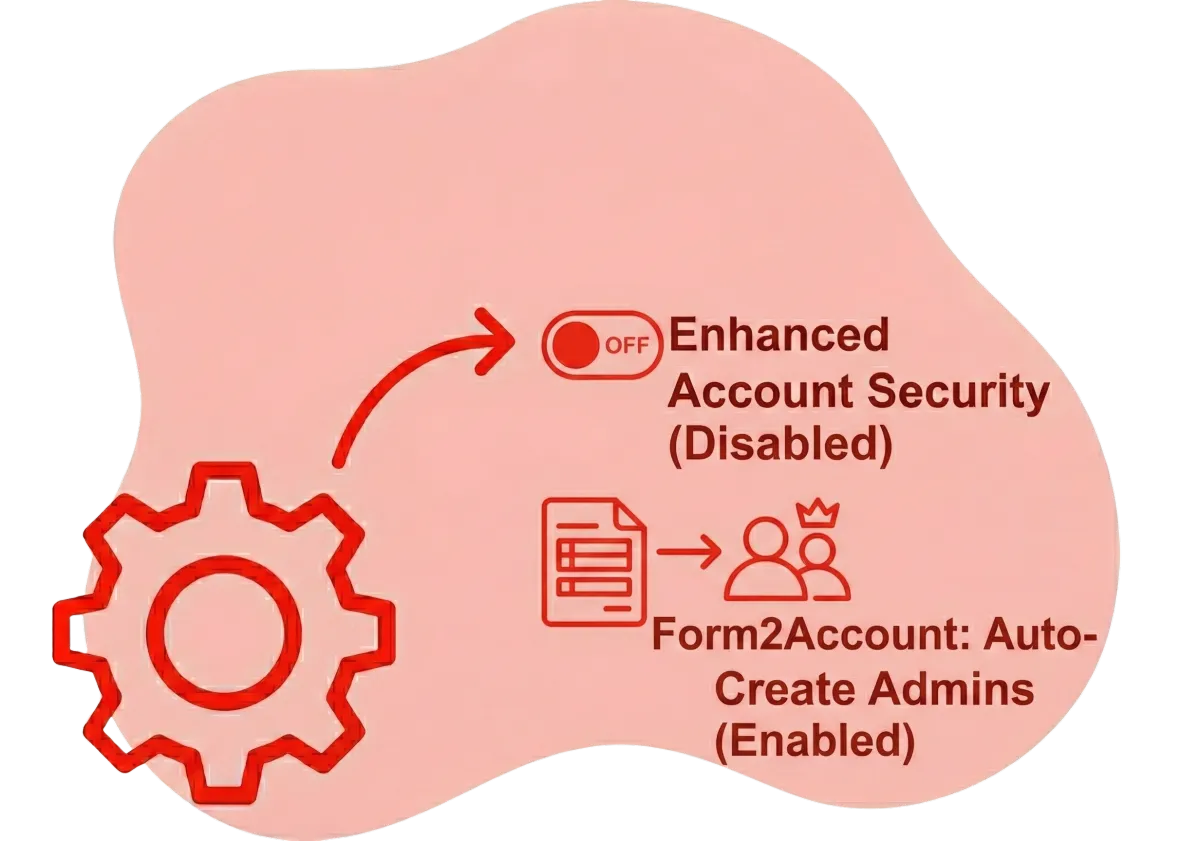
03: Disable the Setting
Toggle off Enhanced Account Security to allow Form2Account to automatically create administrators with necessary User Management rights.
Disabling this setting allows Form2Account to automatically create administrators with the necessary User Management rights, completing the zero-touch onboarding process. If your agency's security policy requires this setting to remain enabled, you must be prepared to manually enable User Management permissions for every new account administrator created through the system. Once this critical security prerequisite is addressed, the system is ready for installation and activation.
Installation & Initial Workflow Activation
This section covers the core deployment process for Form2Account. These steps will guide you through installing the application into your agency's environment and activating the essential workflow that powers the entire automation. Follow each step carefully to ensure a successful deployment that will serve as the foundation for your automated client onboarding process.

Purchase from Marketplace
Navigate to the App Marketplace via the left-hand sidebar and purchase the Form2Account application. The marketplace provides a secure, streamlined purchasing experience integrated directly into your agency account.

Install to Accounts
During installation, a Select Sub-Account dialog box will appear. You must install the application on both the main Agency account (to manage the application) and the designated Agency Sub-Account where your client onboarding forms will reside (to execute the workflow). Select the checkboxes for both accounts to proceed.

Activate the Workflow
Navigate to your Agency Sub-Account using the account switcher at the top of the sidebar. From the sub-account's sidebar, select Automation. On the Workflows tab, locate the workflow named "Form2Account - Client" and ensure its status is set to Published.
Successfully completing these steps deploys a snapshot containing all the necessary assets—including Custom Fields, Forms, and Workflows—into your Agency Sub-Account. With these components in place, the automation system is now fully operational and ready to process client onboarding requests. The workflow will now automatically trigger whenever a new form submission is received, creating fully provisioned sub-accounts without manual intervention.
Understanding the Installation Process
The installation process establishes the technical foundation for your automated onboarding system. Understanding what happens during each installation phase helps ensure proper configuration and enables faster troubleshooting if issues arise. This knowledge empowers your team to confidently deploy and maintain the system.

Marketplace Purchase
The application is licensed to your agency account, granting access to all Form2Account features and future updates.
Asset Deployment
Custom fields, forms, and workflow templates are automatically deployed to your selected accounts.

Workflow Activation
The core automation workflow is published and begins monitoring for form submissions.

System Ready
Your onboarding automation is fully operational and ready to process client requests.
What Gets Installed
Custom Fields: Pre-configured fields for capturing client information
Intake Forms: Professional onboarding forms with proper field validation
Workflows: Automated processes for account creation and setup
Templates: Ready-to-use communication templates for client notifications
Installation Benefits
Zero Manual Configuration: All components are pre-built and ready to use
Consistent Deployment: Every installation follows the same proven structure
Rapid Activation: Go from purchase to operational in minutes
Update Ready: Future enhancements deploy automatically
Verifying Your Installation
After completing the installation and activation steps, it's essential to verify that all components are functioning correctly. This verification process ensures that your automation system is ready to process real client submissions without errors. Taking a few minutes to confirm proper setup prevents potential issues and builds confidence in your deployment.

Check Workflow Status
Navigate to Automation → Workflows and confirm that "Form2Account - Client" shows a Published status. If the status shows as Draft or Paused, click the workflow and change it to Published.

Verify Form Availability
Go to your Forms section and locate the Form2Account client intake form. Ensure it's accessible and all fields are displaying correctly. Test the form preview to confirm proper rendering.

Confirm Custom Fields
Check that all required custom fields have been created in your sub-account. Navigate to Settings → Custom Fields and verify that fields like First Name, Last Name, Email, Phone, Password, and Sub-ID are present.

Review Account Permissions
Double-check that your Enhanced Account Security setting is disabled (as configured in the prerequisites). This ensures new administrators will have proper User Management access.
Pro Tip: Test Submission
Consider running a test submission with fictional data to verify end-to-end functionality. This practice submission allows you to observe the complete automation process, from form submission through sub-account creation, ensuring everything works as expected before processing real clients.
Installation Complete
All components deployed successfully to both agency and sub-account levels
Workflow Active
Automation monitoring form submissions and ready to process new clients
System Operational
Your onboarding automation is live and processing requests automatically
Best Practices for Deployment Success
Successful deployment of Form2Account extends beyond following installation steps. Implementing strategic best practices ensures long-term reliability, easier maintenance, and optimal performance of your onboarding automation. These recommendations draw from extensive agency implementation experience and help you avoid common pitfalls while maximizing the system's value.

Document Your Configuration
Maintain clear documentation of your specific installation settings, including which sub-account hosts the forms, any custom modifications made, and key personnel responsible for system administration. This documentation proves invaluable during troubleshooting, staff transitions, or system audits.

Set Up Monitoring Alerts
Configure notifications to alert your team when workflow errors occur or when form submissions fail to process. Proactive monitoring enables rapid response to issues, minimizing client impact and maintaining service quality standards throughout your onboarding operations.

Train Your Team
Ensure all relevant staff members understand how the automation works, what to do if issues arise, and how to access form submissions. Comprehensive team training reduces dependency on single administrators and ensures business continuity across your organization.
Regular System Reviews
Schedule quarterly reviews of your Form2Account system to verify workflows remain published, security settings haven't changed, and no updates require action. Regular maintenance prevents configuration drift and ensures continued reliable operation.
Backup Critical Data
Maintain backups of your form configurations and workflow settings. Export these periodically to safeguard against accidental modifications or system changes that could disrupt your onboarding process.
Plan for Scale
As your client base grows, monitor form submission volumes and workflow execution times. Proactive capacity planning ensures your automation continues performing efficiently even during rapid growth periods.
"Proper deployment preparation and ongoing maintenance are just as important as the initial installation. Agencies that invest time in these best practices experience significantly fewer support issues and higher client satisfaction rates."
Your Form2Account System is Ready
Congratulations on successfully deploying Form2Account! Your automated client onboarding system is now operational and ready to transform how your agency provisions new client accounts. By following this guide, you've established a powerful automation foundation that eliminates manual setup tasks, reduces provisioning time from hours to minutes, and ensures consistent, error-free account creation for every new client.
Your system is now actively monitoring for form submissions and will automatically create fully configured sub-accounts with proper user credentials and permissions. This automation frees your team from repetitive technical tasks, allowing them to focus on building client relationships and driving strategic growth initiatives. The zero-touch provisioning you've implemented represents a significant competitive advantage in delivering exceptional client experiences from day one.
System Status: Active
Your Form2Account installation is complete and processing submissions automatically
Next Steps: Monitor & Optimize
Watch your first submissions process, gather team feedback, and refine as needed
Support Available
Reference this guide anytime and reach out for assistance with advanced configurations
Remember to keep your workflow published, maintain your security settings as configured, and leverage the best practices outlined in this guide for long-term success. Your investment in proper deployment will pay dividends through improved operational efficiency, reduced support overhead, and enhanced client satisfaction. Welcome to the future of automated client onboarding!
Frequently Asked Questions
We know you might have questions before getting started. Here are answers to some of the most common queries about our platform and services.
Do I need Zapier or Make.com for this to work?
No. Form2Account is a standalone application that connects directly to your HighLevel agency dashboard. No expensive third-party glue tools are required.
Do I need any technical skills to use this platform?
Not at all! Our platform is designed to be intuitive and easy to use for everyone, whether you’re a marketing expert or just starting out. Follow the quick easy steps and be ready to go in mere moments.
Can I hide specific features like "Settings" from my clients?
Absolutely. You can configure the default "User Scope" to hide tabs like Settings, Workflows, or Websites, ensuring your clients don't break their own accounts. This kind of feature is available in our Unlimited Plan.
What happens if I create a user that already exists?
To protect data integrity, the Admin email must be unique. If a user already exists, the system will not overwrite them. We recommend using unique emails for every sub-account.
Can I assign different Snapshots to different pricing plans?
Yes. You can easily manage multiple tiers (e.g., "Silver" vs. "Gold" plans) by creating separate forms for each. Simply paste the specific Snapshot ID for that tier into the hidden field of the corresponding form. Form2Account will load the correct assets for that specific customer automatically.
Why can't my new client add their own staff members?
This is likely due to HighLevel's "Enhanced Account Security" setting. If this is enabled in your Agency Settings, API-created admins are restricted from managing other users. You must disable this setting in your Agency dashboard to grant your clients full user management rights immediately.
Can I use this to update or overwrite existing sub-accounts?
No. Form2Account is a provisioning engine designed specifically for new account creation. To protect your data integrity, the system will not attempt to overwrite or modify an existing sub-account if one already exists.
If an account creation fails (e.g., due to an internet glitch), do I have to ask the client to fill out the form again?
No. Form2Account includes a built-in "Replay" system. Simply find the failed submission in your HighLevel history, copy the unique Sub-ID string, and paste it into the Form2Account - Support form. This forces the system to re-process the original data instantly, ensuring the account is created without bothering your client.
